
💅 Elevate your nail game—fast, flawless, and eco-smart!
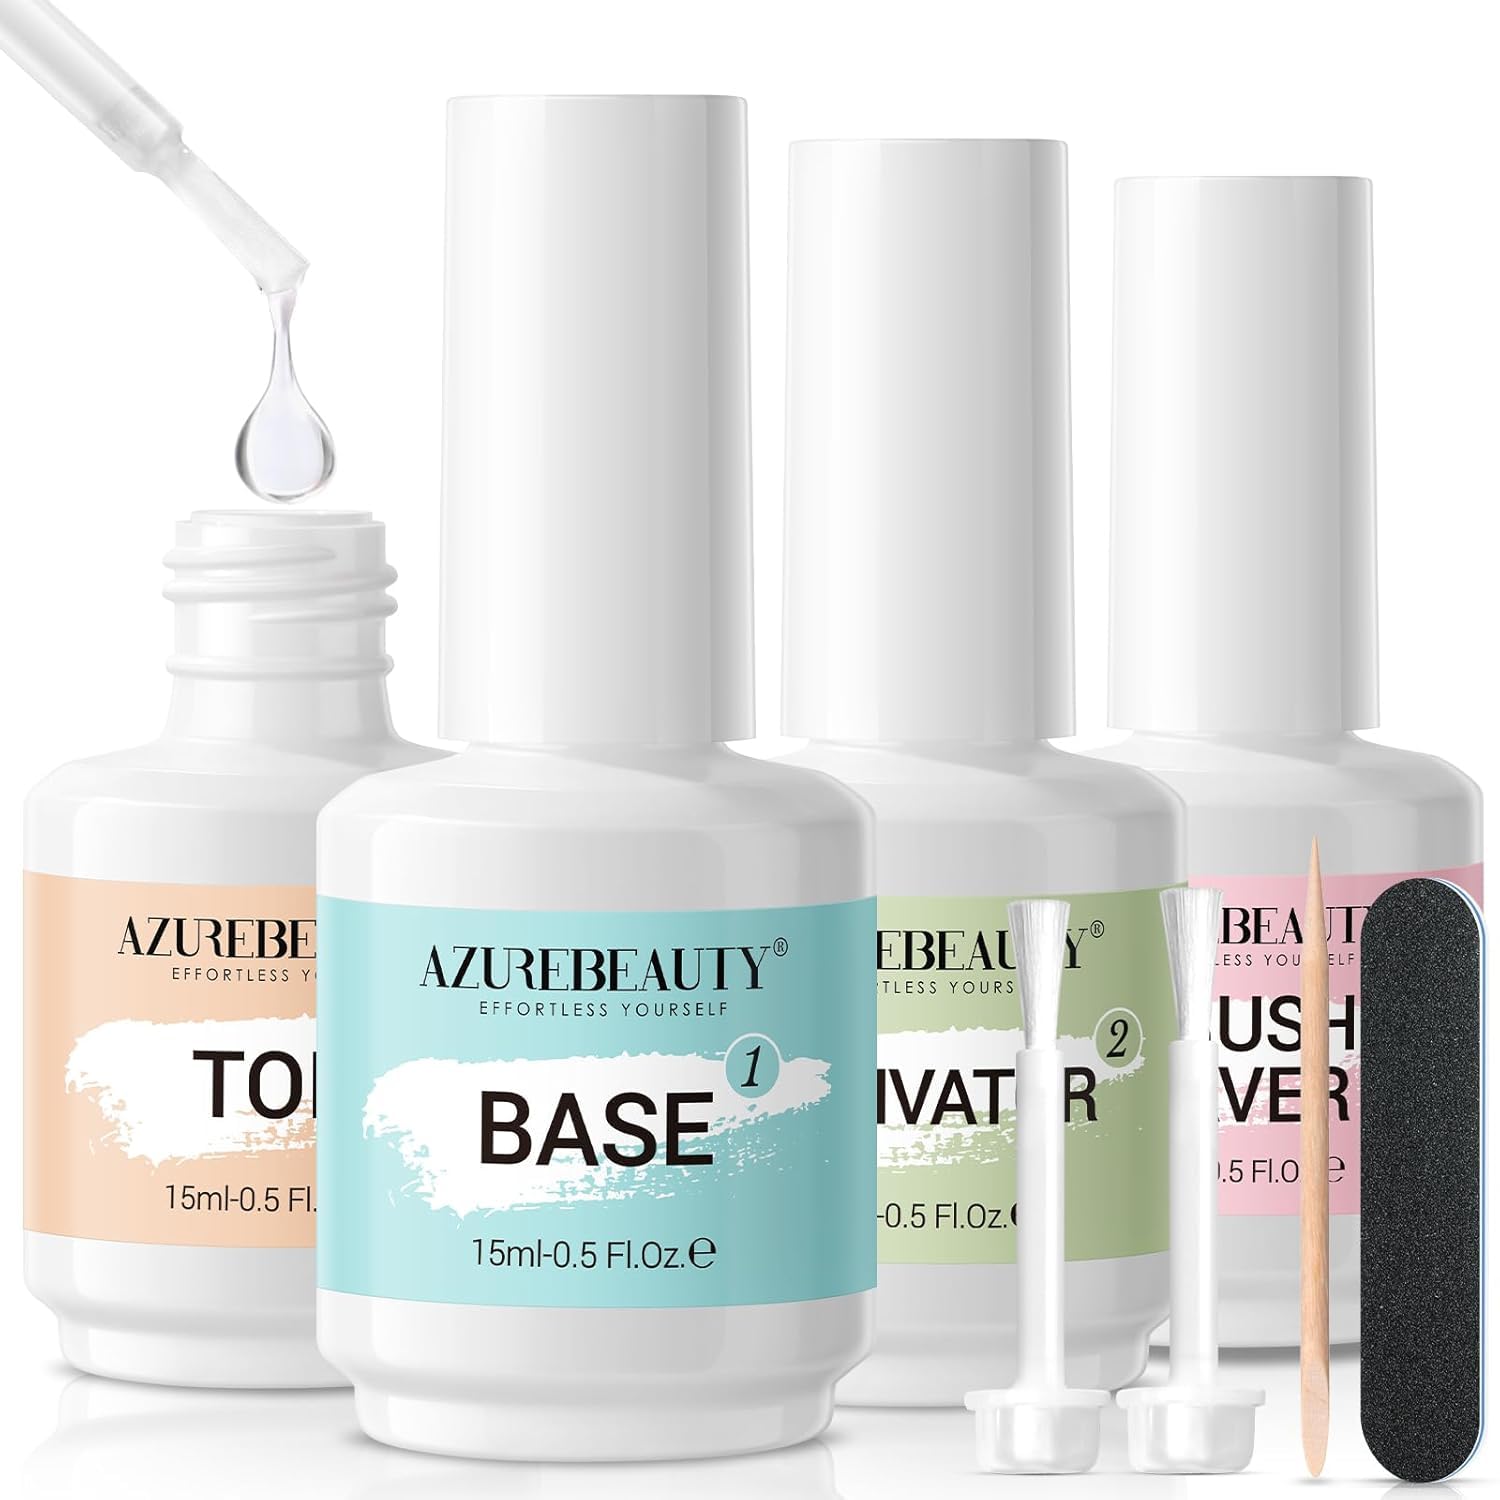
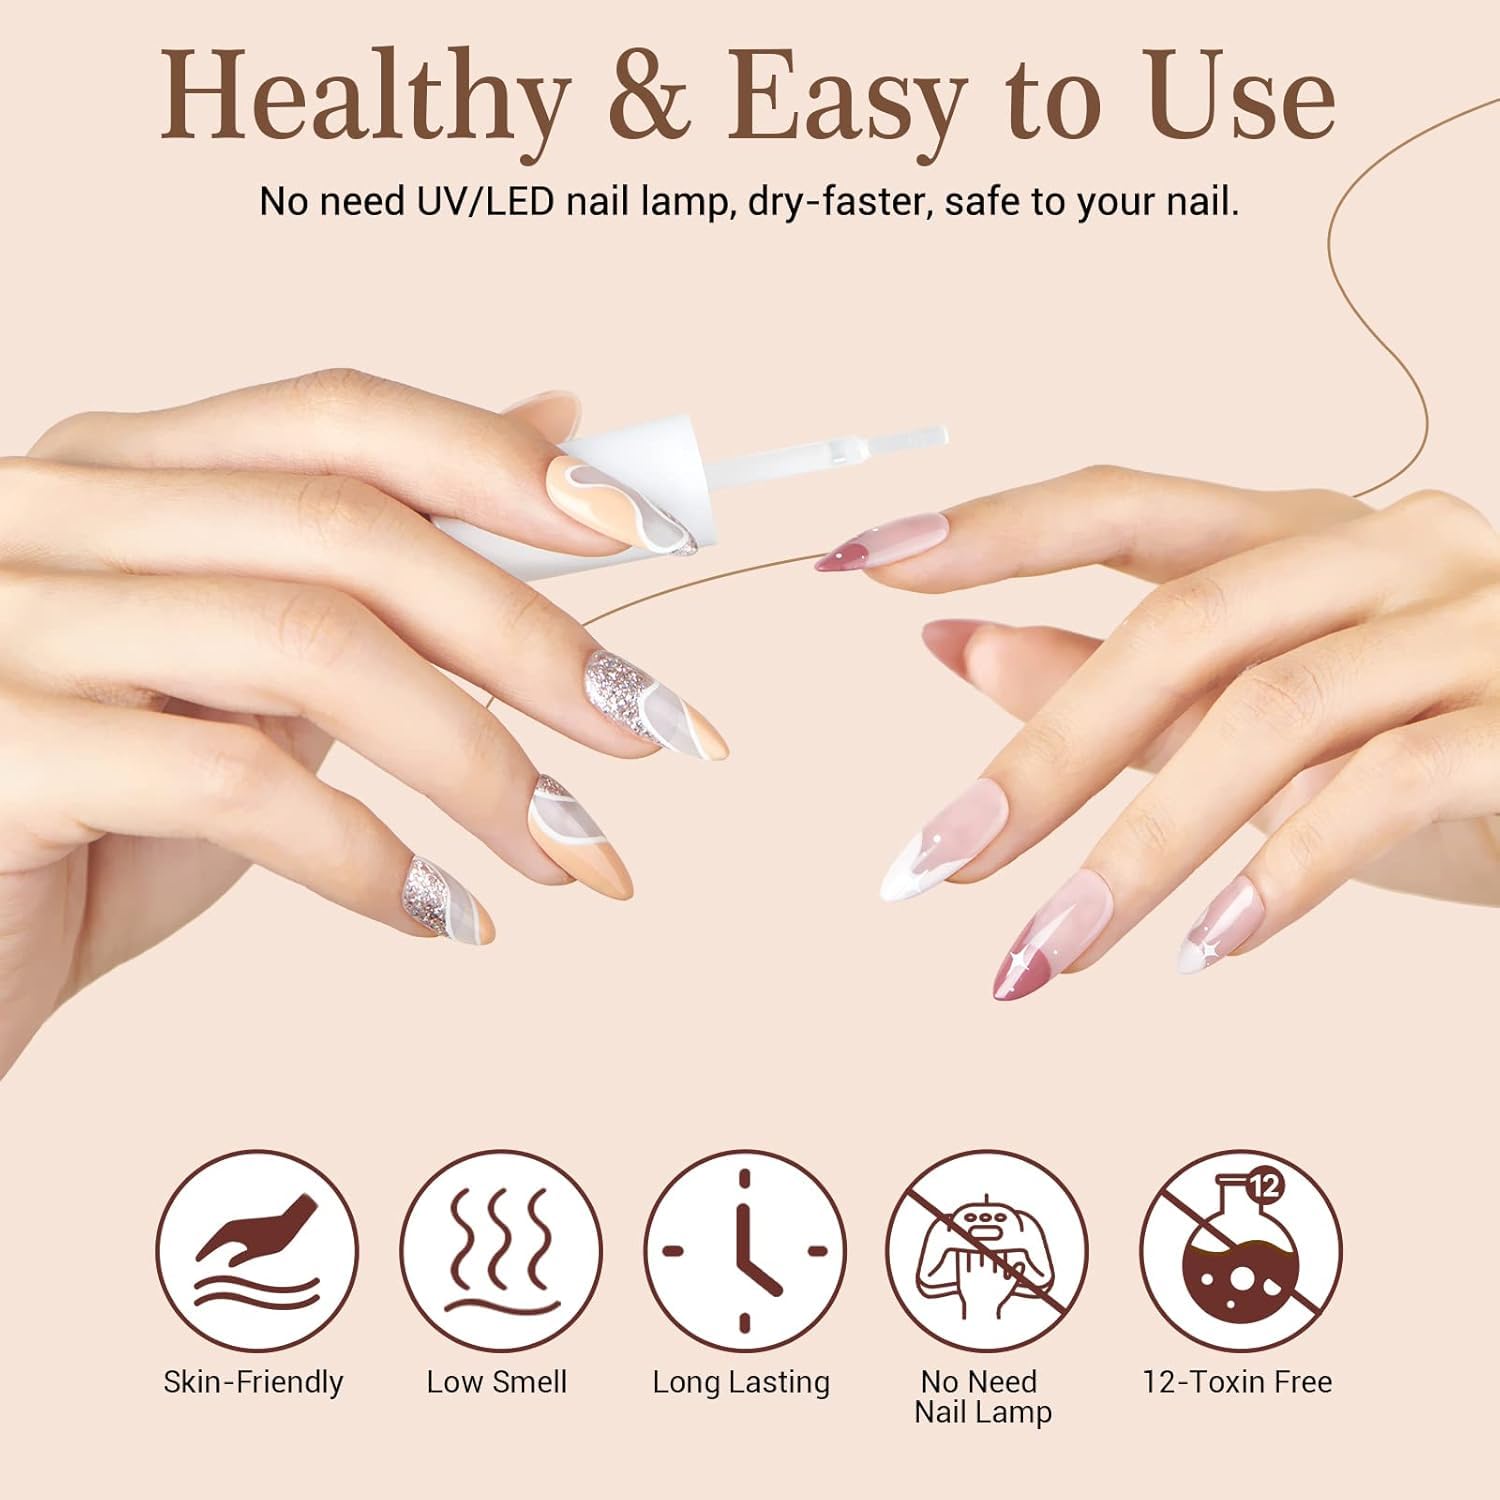
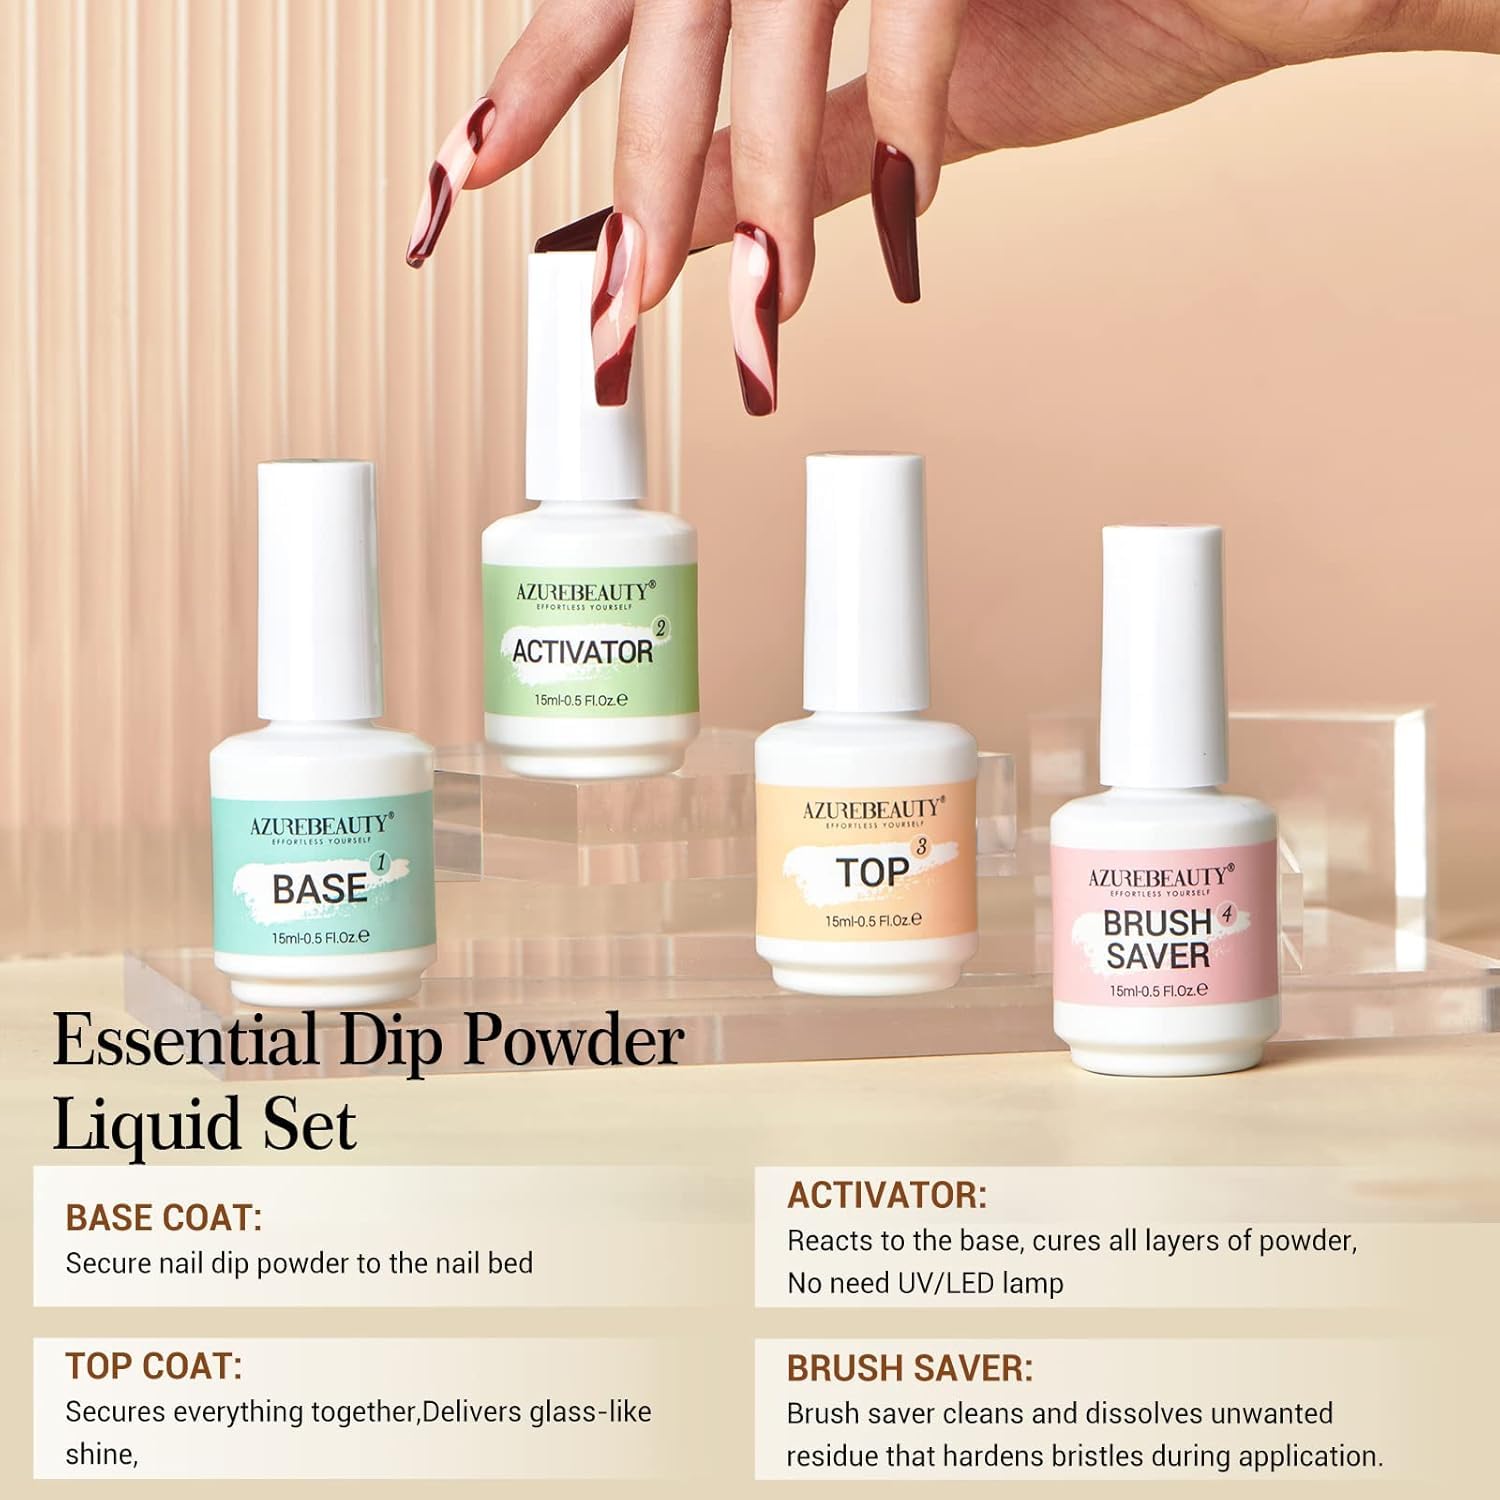
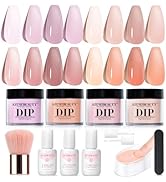
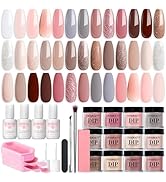
The AZUREBEAUTY Dip Powder Liquid Set is a professional-grade, no-lamp-needed nail kit featuring 15ml bottles of base coat, top coat, activator, and brush saver, plus essential tools like replacement brushes and a nail file. Designed for fast drying (60 seconds) and long-lasting wear (28+ days), it offers an eco-friendly refill system and a streamlined DIY experience that saves 30% application time compared to acrylics. Perfect for millennials seeking salon-quality nails at home with sustainable, high-performance products.


| ASIN | B095JRJL2Z |
| Best Sellers Rank | #2,489 in Beauty & Personal Care ( See Top 100 in Beauty & Personal Care ) #1 in Dip Manicure Kits |
| Brand | AZUREBEAUTY |
| Brand Name | AZUREBEAUTY |
| Color | B-15ml-dip powder liquid set |
| Customer Reviews | 4.3 out of 5 stars 10,055 Reviews |
| Finish Type | Glitter |
| Included Components | Dip Pow, Nail File, Top Coat |
| Item Form | Gel |
| Item Weight | 0.1 Kilograms |
| Manufacturer | AZUREBEAUTY |
| Material | Acrylic |
| Unit Count | 1.00 Count |
T**Y
Love Love Love!! did I mention that I LOVE this product?
The photo posted in my review is to show what color result is achieved with only a SINGLE dip - I was happily surprised to find them to be pastels yet highly pigmented making for such a great coverage off of the first dip. The end result is what was achieved after dipping each nail once more making it only a total of two dips per finger on every color -including the lightest colors like yellow I not only highly recommend this product but I definitely will be a returning customer as long as I have nails on my hands lol My nails are naturally short so to achieve the finished look I started by glueing on false tips to each nail. ***The tips I prefer to use are always clear (vs white tips as white tips I find can be harder to hide under dip powders as the line of where the tip meats your natural nail can be seen through the powder unless you dip each nail repeatedly until it does not -which I find not only to be a waste of time but also a waste of the powder especially when with clear tips only two dips is needed to achieve the same result*** ***Also clear tips in my opinion always seem to be a little thinner than standard white tips which makes them more flexible, bending just as your long natural nail would but yet thick enough to not break off**** After glueing on the tips and allowing time to dry - I then lightly buffed the surface to ensure that the false tips laid flesh with my natural nails to ensure each dip would result in a smooth surface allowing for no additional filing needed after dipping After buffing the tips and getting them flesh with my natural nails I take a cotton ball and wipe each nail off with nail polish remover - I believe this step is not only VERY important but also this step is what makes the difference in how long your finished nails will stay on. I personally have yet to experience any of my nails popping off on their own by accident and I have done multiple sets to not only myself but my sister as well. A typical set last just about two weeks before I decide to remove them and then redo them as by that time my natural nails have grown out. Without the step of dehydrating my natural nails with the polish remover and removing any dust /oil from the buffing I don’t believe I’d be able to achieve a manicure to last 2 weeks as before including this step in the past I never was able to make it past 3 days before one popped off so I can’t emphasize enough how important that step is. Next I apply a thin base coat (one finger at a time as stated on instructions) and then quickly dip the nail into the powder as if you don’t do it quick enough-the base coat can begin to dry leaving you with an unpleasant dip result. Instantly after lifting the nail from the dip I brush off any excess back into the dip tray and then I apply a coat of activator before I move to the next finger and repeat until all 10 are complete. I then repeat that step of applying the base coat, dipping, brushing off the excess and then applying activator a second and final time to each finger. Once completed with the dipping I Lightly buff the surface of each nail making sure each nail feels smooth as a natural nail. Sometimes extra filing is necessary depending on the shape and length you want to achieve - I do this after dipping since the clear tips I choose to use are thinner than standard tips, but you could also shape the tip before dipping them, really it’s your preference and the order you choose will not effect the end result- just make sure anytime you file BEFORE you dip -you ALWAYS want to wipe each nail with a cotton ball of polish remover - I cannot stress this enough At this point depending on the look I’m trying to achieve I would either decorate them or if I’m going for more of a simple look I’d finish by applying a top coat If you have the option to finish your nails with a gel top coat that requires a UV light to harden then I would suggest doing so as it only creates more strength to your nails -but I personally only use a regular polish top coat, one that’s thicker in consistency giving the affect of an authentic gel polish but dries on its own and no lamp is needed, so again it’s up to what you have available to you as well as your preference The video I posted is the end result after dipping every nail into a different color - no two are the same color. I then applied a thin layer of a clear sparkly polish, to a few nails I applied some rhinestone art and then finished with a high gloss top coat Hopefully this helps any one new to using dip, when i started experimenting with dip powders years ago, despite loving the end result I could never seem to get them to last as long as a manicure I got at a salon with acrylic, but over time, with a little experimenting and practice I’ve come to finally achieve the look as well as the length of time they stay on. I’ve experienced with all DIY at home manicure products on the market, including acrylic and poly gel, and out of the three- dip powder has not only been the fastest to learn how ti use as well as the fastest process when apply a whole set, but it’s also been the easiest, the less messy as well as the most affordable. (single bottle of dip powder can last you MONTHS almost a whole year if only dipping each finger twice and having them last 2 weeks before doing it again) I HIGHLY recommend for any one who’s new to the DIY at home manicure to try all the products available, personally I found it fun to experiment with them all but im sure you’ll soon learn how simple a dip manicure is compared to the other methods, as well as how much money you’ll save no longer having to spend your money on getting a set done. What it would cost me to receive a single set at the salon is more than what it cost me to buy this dip powder kit and even the tips combined.
K**N
Best nail kit!
Best nail dip kits I’ve purchased! I have done my nails via other kits previously so I had basic knowledge of the process. This kit was so quick and easy to use. The powder is fine and it’s not bulky. I just did my nails so I can’t speak to their longevity but ease of use and outcome was great! Any issues were my user error, just give yourself the extra time to let the top coat dry - takes more than the recommended time! Value for your money is top notch!
K**H
Great kit all around, perfect for beginners
I had never done my own nails, so I didn’t want to splurge before knowing if I would like it or be good enough at it to keep doing it. The amount you get for the money on these kits is amazing and I didn’t have to buy any extra tools. The process itself is pretty easy and I’ve definitely improved over the last few months. My nails have held up through redoing my garden beds, repairing and replacing drywall, replacing ten window screens, priming and painting rooms (and the paint didn’t stick to or damage the top coat), building a swingset, and building sixteen pieces of IKEA furniture. All activities that would have probably resulted in damaging or breaking my weak natural nails. I will definitely continue to use the Azure kits to build my collection. The only reasons I removed a star were that A. The dip liquid bottles are small and run out quickly, and are also easy to knock over because of their oblong shape, and B. Two of the powders are clumpy even with stirring and did not dip well, but given the low price and the huge amount of colors I got, this wouldn’t stop me from buying more of their kits.
F**E
Comparable to the salon!
Big learning curve! Less is more! Watch a lot of videos! Make sure you use 100% acetone for removal. I spent 18 months going to the nail salon every 3 weeks. I decided to try and save some money and do my own. After reading the reviews, decided to try this starter kit. It was cheaper than just 1 trip. I will admit my husband helped me a lot. Our first time, wasn’t great. And the polish cracked within a week. But that was user error. The pic is from our second attempt, much better! I use my hands a lot opening boxes, stocking vending machines and so far, so good! There’s no overwhelming smell, the products are easy to use. But again, watch a lot of different videos and don’t be afraid to make a mistake and learn from them! Will definitely be ordering more colors!
N**Z
Excellent
Excellent dip powder nail kit. Easy to use, beautiful colors and professional finish at home. Incredible duration and great quality!
A**R
Easy to use, quick drying, but chips easily
I’m happy with the ease of use and how quickly they dry. I was looking for a product that would dry quickly with a toddler at home it’s impossible for my nails to dry without smudging these dried so quick it was great but just a few days later they’re all starting to chip. I read the instructions and watched a few videos to make sure I knew how to use it. So I’m not sure if I just didn’t do it right or what but I didn’t expect them to all start chipping so quickly. The reviews have people who shared doing gardening and other activities without issue but I took a nap and woke up with 3 of my nails chipped. Not sure how that happened. And the base/activator/top coats are very small and seem almost empty upon opening, one of them I could barely get open, I don’t expect them to last very long and will need to buy more soon.
C**K
Good basic starter kit, little bit of a learning curve
Love the colors (I got the Mermaid set) - good mix of sparkle & flat I also purchased a clear powder & a bottle of Bond (both AzureBeauty). The photo is of my 2nd time doing my own nails. 1st time I flooded my cuticles with base & they lasted about 2 weeks but were a bit messy. 2nd time is much better. Here’s what I have learned… 1. Start by prepping your nails. Push back your cuticles & buff the surface of your nails to take the shine off. Don’t wet your hands/nails for at least an hour before doing your dips. 2. Apply a thin coat of bond to each nail. This is a dehydrator & will help the dip system to stick to your mail better. 3. Apply a THIN coat of base, without getting it on your cuticles or side walls. You can take your time somewhat. Apply to the center of your nail, then out to the edge. Repeat, applying a line closer to each sidewall, then again in the center, pushing it toward the cuticle, then out to the edge again. Make sure there’s not too much on your brush. No globs! Lol 4. Dip in the clear powder. This is optional & is not included in the set. It will protect the nail from being stained by the colored powders. 5. Tap the excess powder off, wait at least 30 secs for the powder to soak up the base liquid, then brush off excess. I find a soft toothbrush to be perfect for this. 6. Apply another thin coat of base, using the same method as before. 7. Dip in your choice of color powder, tap, wait 30 secs, then brush off excess. (Tip: put each powder pot on a piece of tin foil before you dip. Any powder that falls out can easily be returned to the container when you’re done.) 8. Repeat steps 6 & 7 1 more time to ensure good coverage. 9. Repeat step 6 one more time. 10. Dip in the clear powder again to encapsulate your color, tap, wait 30 secs, & brush off excess powder. 11. Make sure there are no areas where base & powder remains on the skin. Check cuticles, sidewalls & under your nails. Now is the time to remove these bits! 12. Apply a coat of activator over entire nail, wait a few secs until nail coatings are hard when tapped. 13. File surface of nail coatings until smooth and even. I would recommend Also filing the nail by the cuticle so it’s more of a gentle slope, rather than a ridge. It will feel better as the nail grows out. A 100 or 180 grit file works well. 14. Brush off any filing dust. 15. Apply another coat of activator. Wait a few seconds for it to dry. 16. Wipe each nail with an alcohol wipe. This is also great at removing any remaining dip powder from your fingertips. 17. Apply a thin coat of top coat. I have not had any problems with too coat brushes hardening using this method. If you do, wait a few more seconds in between applying the 2nd activator coat & the top coat, and wipe your brush on a paper towel before putting the brush back in the bottle. This coat should dry quickly as it reacts with the activator to harden. 18. Apply a 2nd, slightly thicker too coat for maximum shine. The process seems long but it’s not too bad once you get the hang of it. And you’ll have beautiful nails!
L**N
Good product but the colors are off
This is a good starter set. The product holds up well and is easy to use on yourself. My only complaint is the colors don’t really come out how the color chart states. The red is more of a mauve than a true red etc.
Trustpilot
5 days ago
2 months ago