


🚚 Elevate your cargo game with the ultimate universal ladder rack!
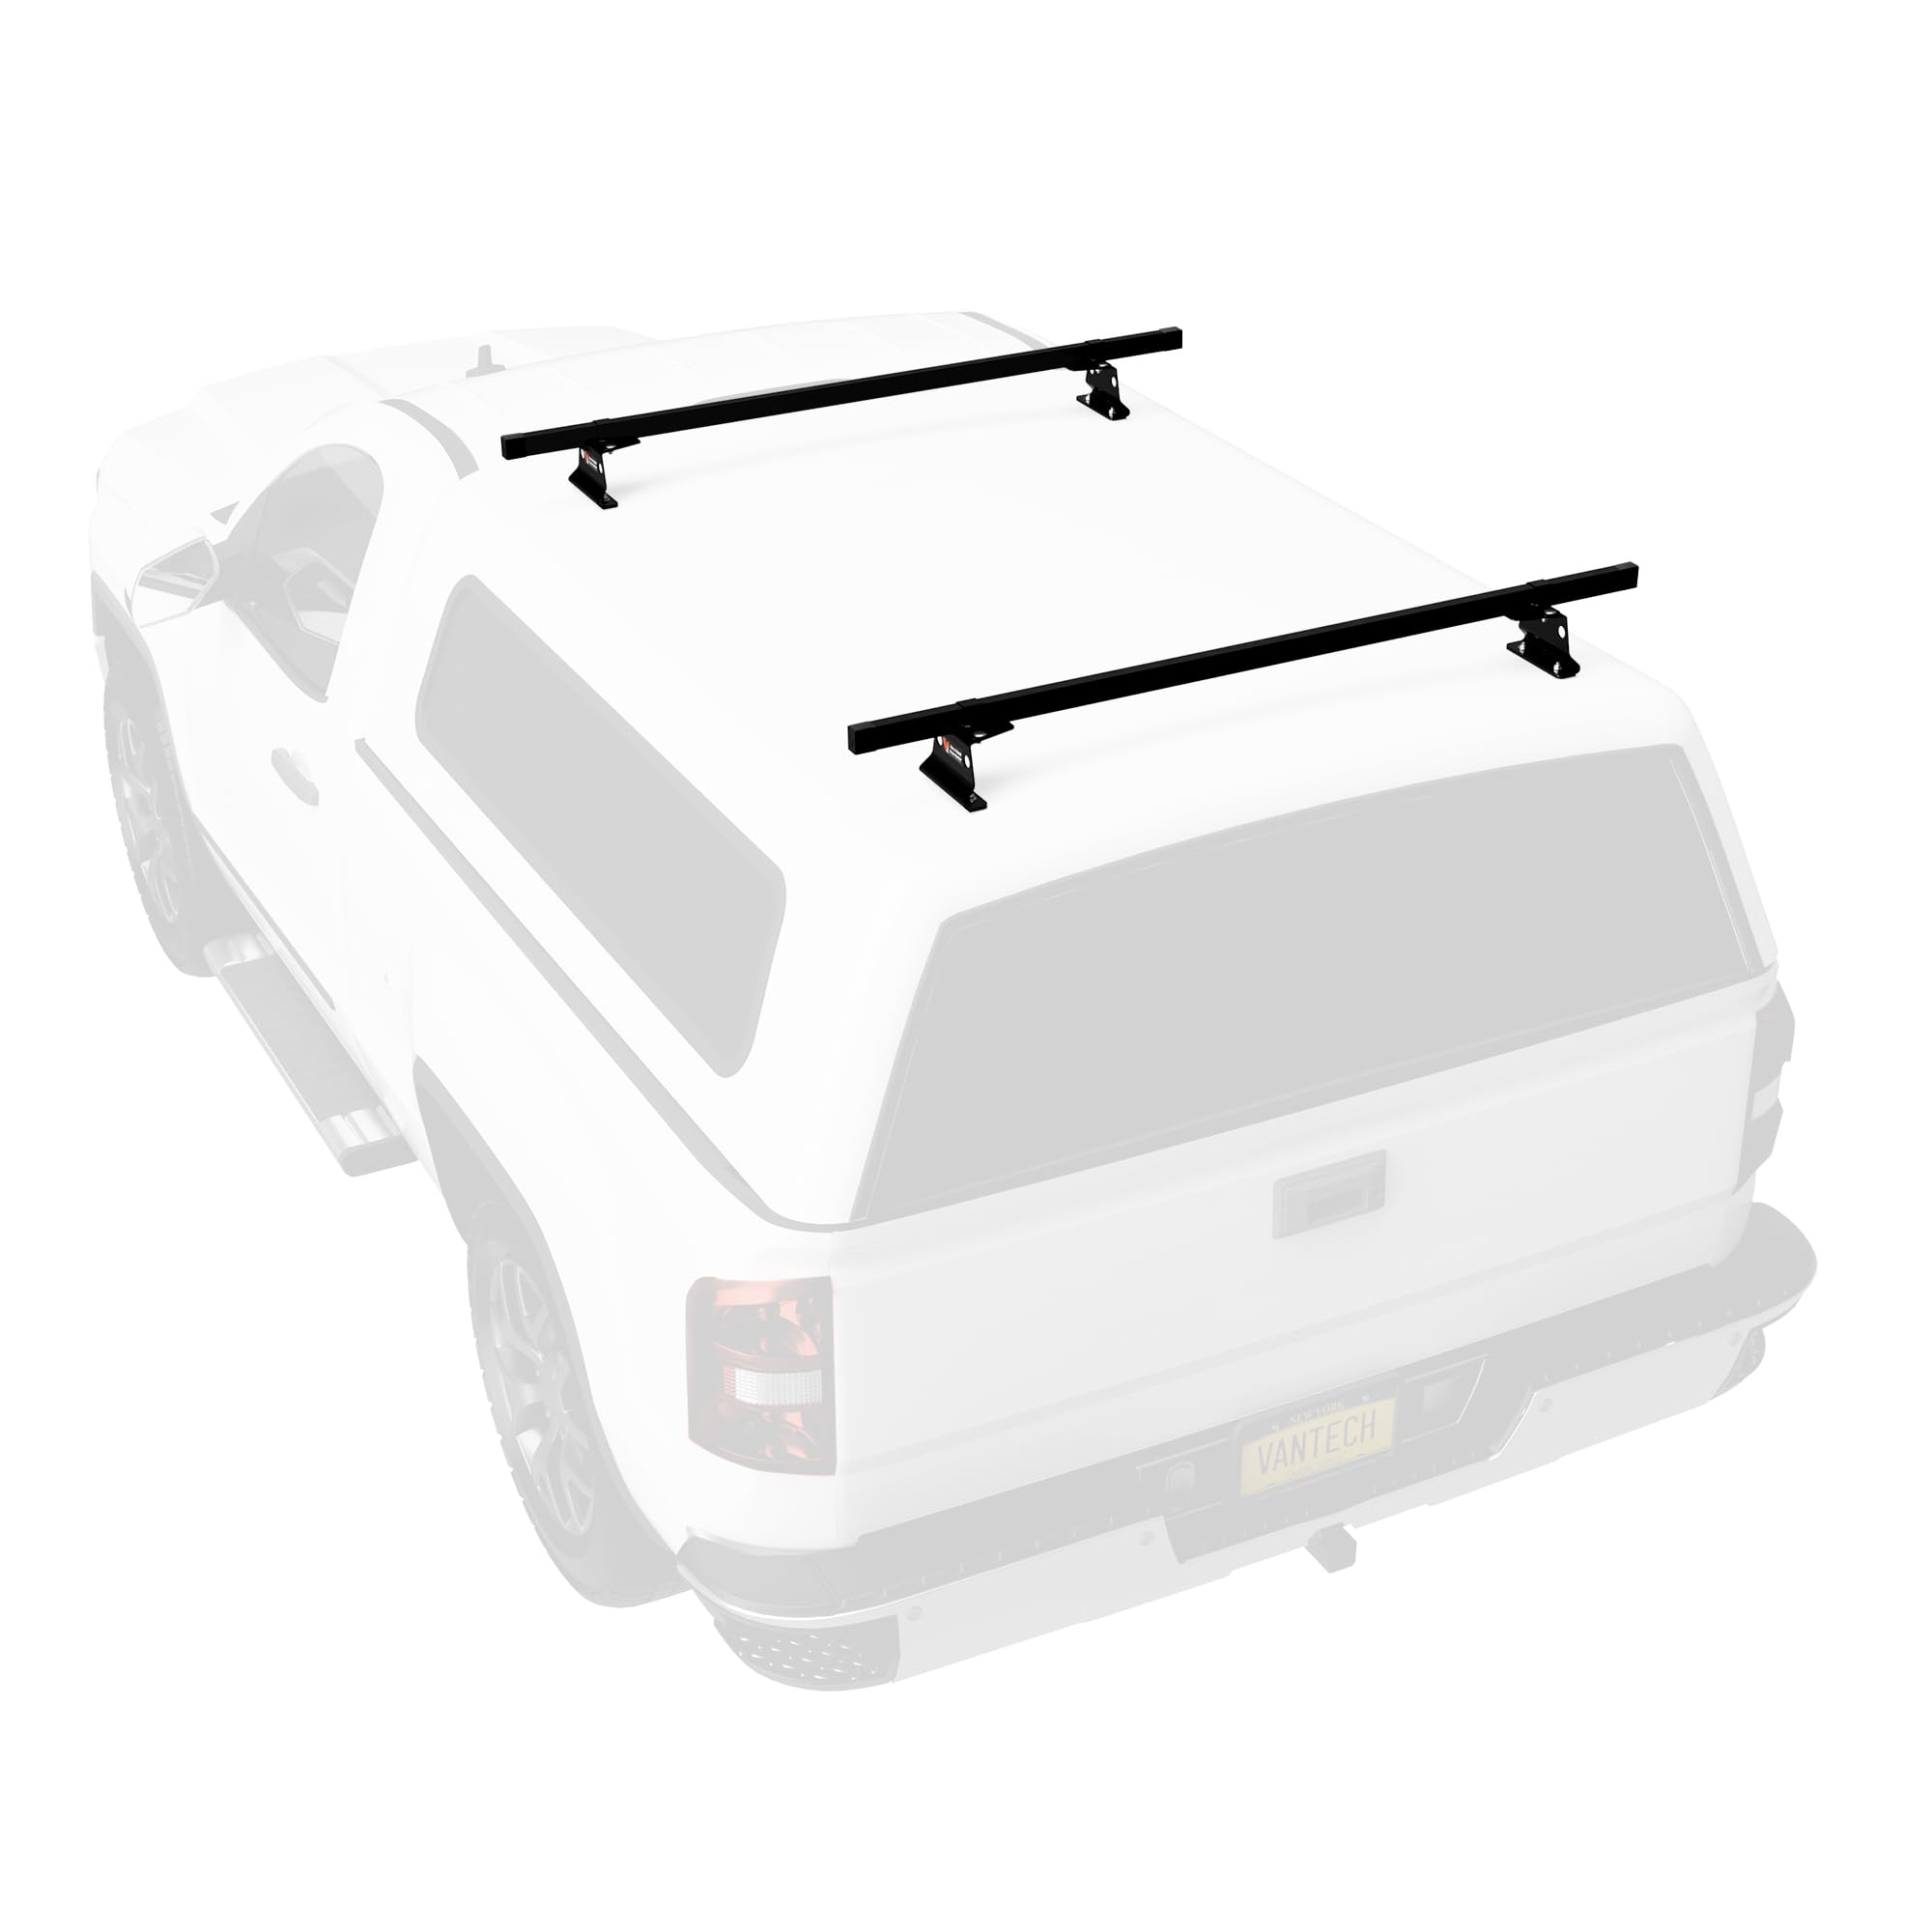
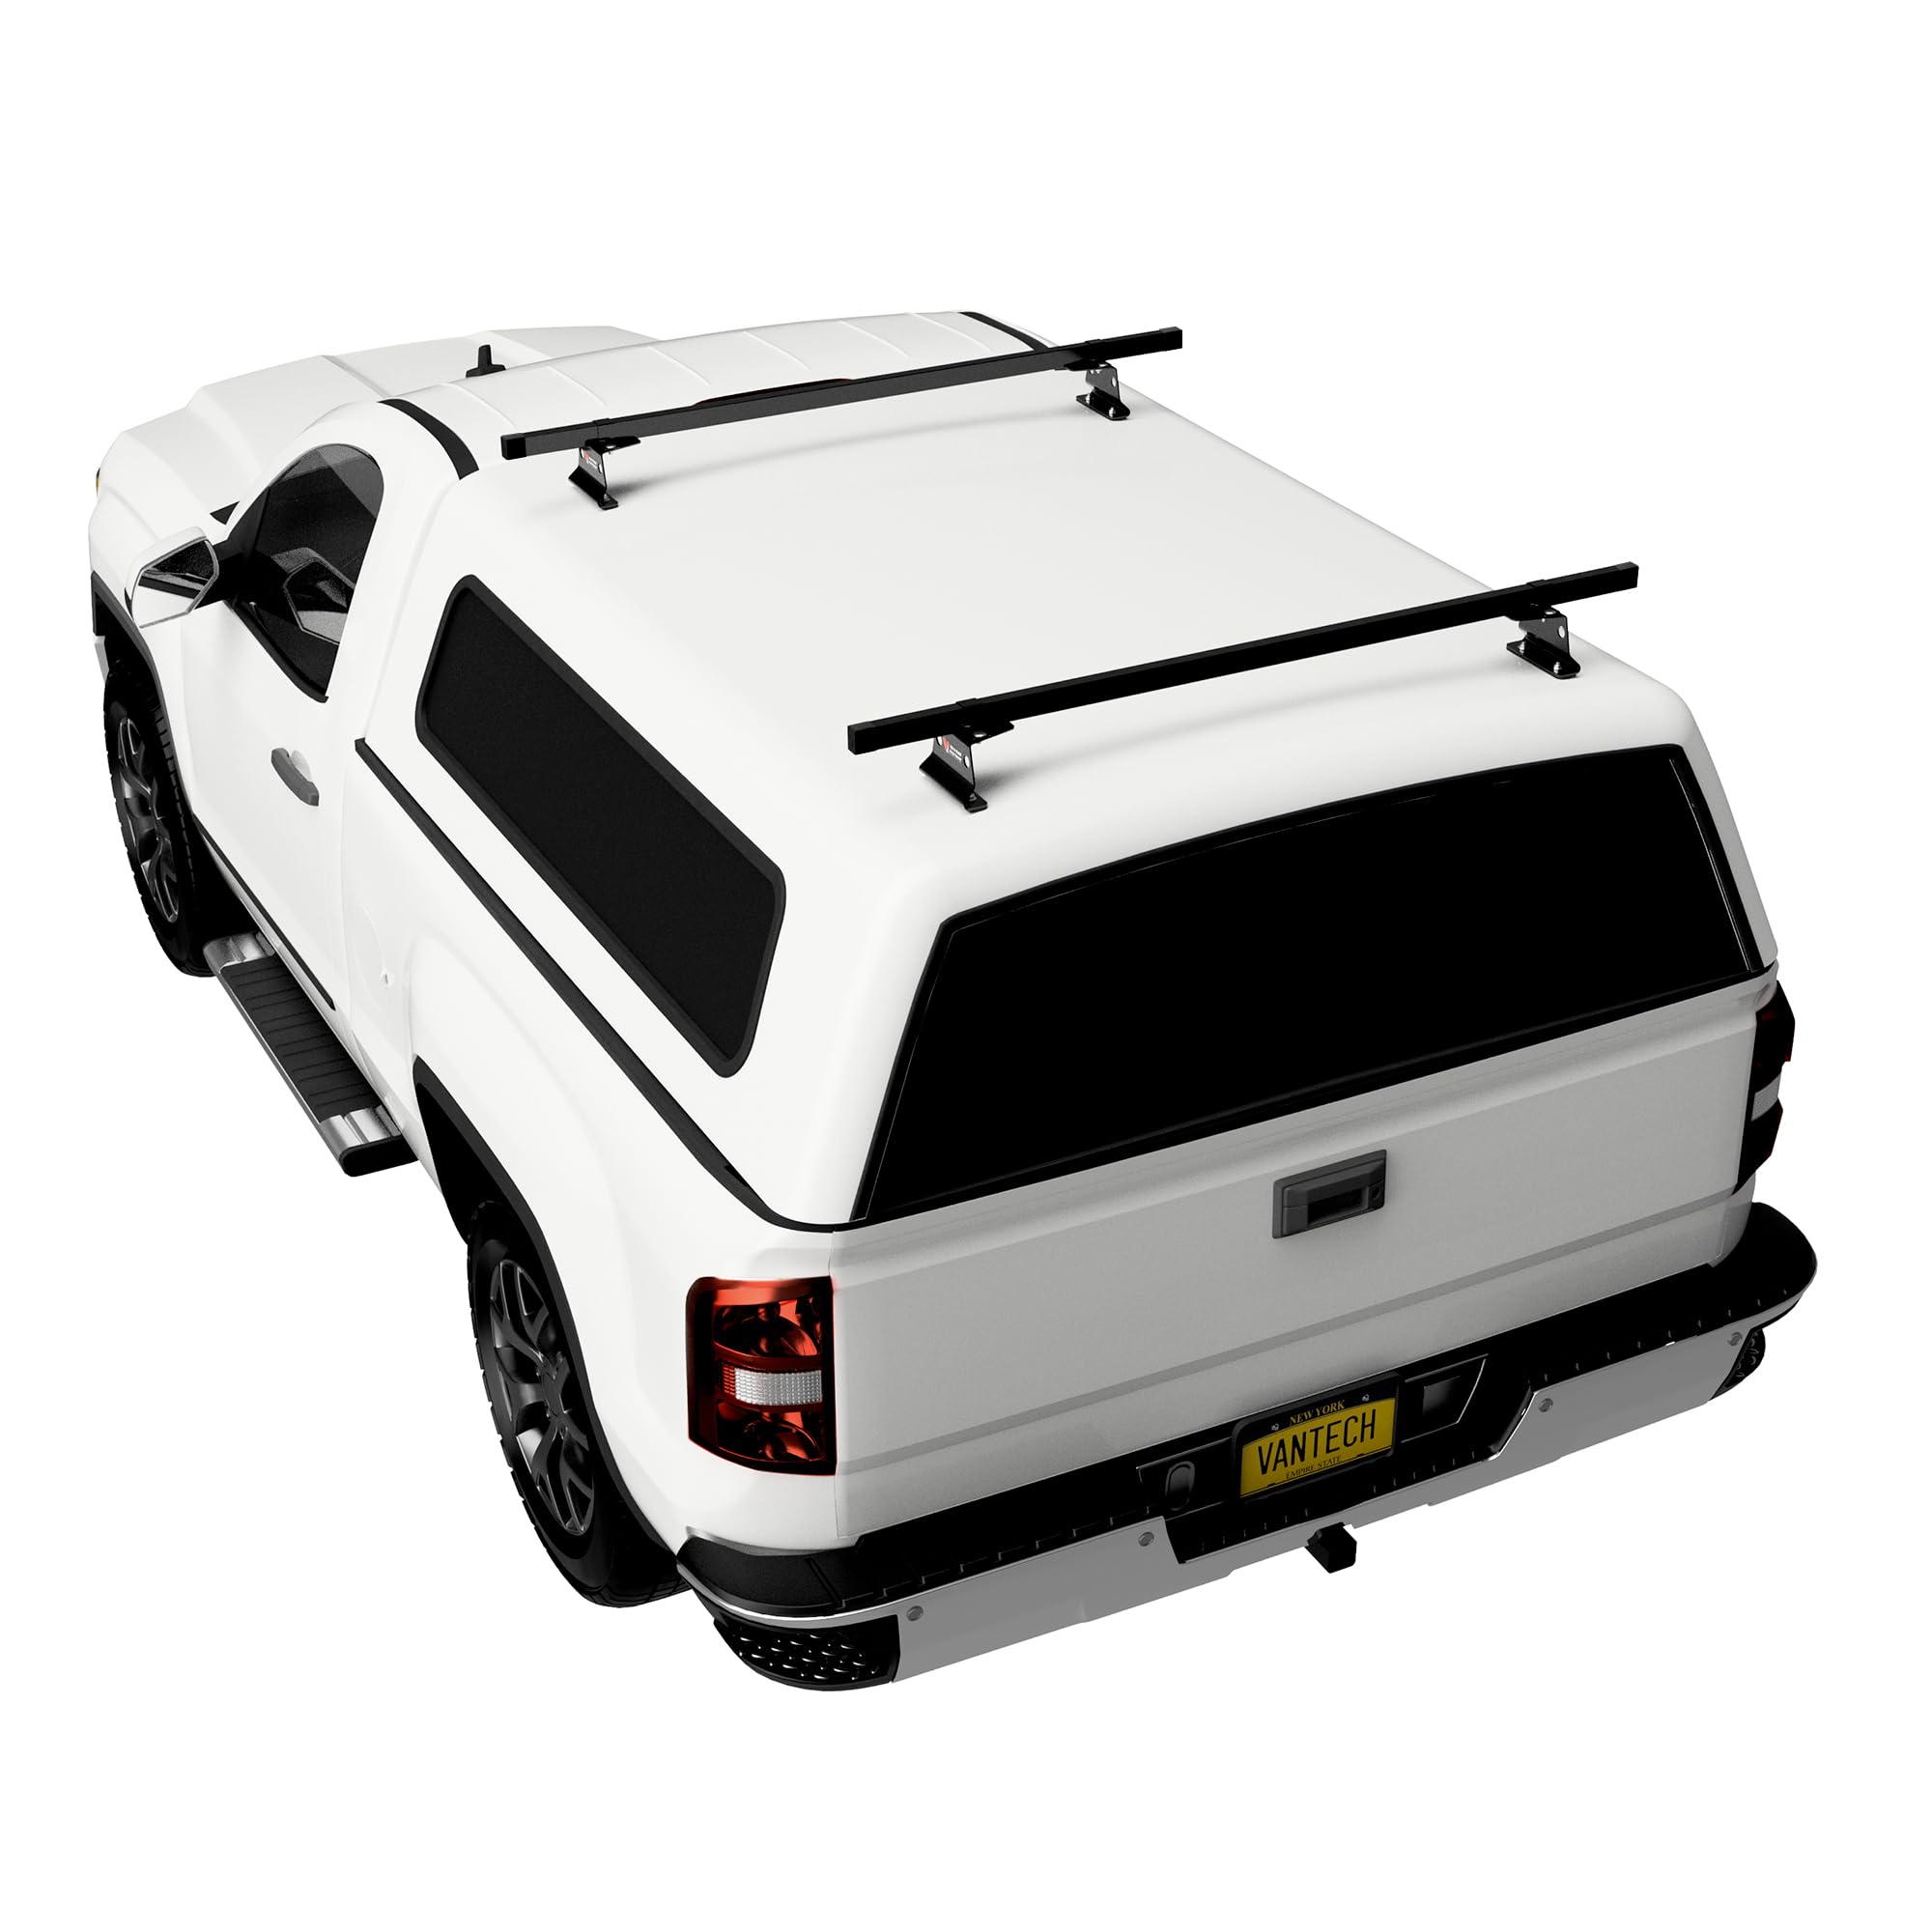
The Vantech Universal Pickup Topper M1000 Ladder Rack features a robust 3mm thick steel mounting base and a 61-inch bar designed to fit any pickup topper with drilling. With a maximum load capacity of 500 lbs and a sleek black finish, this lightweight yet durable rack system offers professional-grade utility and style for serious gear haulers.
| Color | Black |
| Brand | Vantech |
| Item dimensions L x W x H | 61 x 7 x 6 inches |
| Load Capacity | 500 Pounds |
| Mounting Type | U-Bolt |
| Automotive Fit Type | Universal Fit |
| Manufacturer | Vantech |
| UPC | 707152996242 |
| Item Weight | 15 pounds |
| Product Dimensions | 61 x 7 x 6 inches |
| Is Discontinued By Manufacturer | No |
| Manufacturer Part Number | B00P2QQCDG |
K**I
Most bang-for-the-buck-roof-rack available! And available NOW!
I recently (Oct 2021) purchased a ROOFNEST 'Sparrow' roof-top tent for my 1995 Chevy K1500 Extended Cab pickup and tried to order a Thule, Yakima and Rhino Rack system upon which to install it. "Sorry, but they're all back ordered with no restock date available!" (Thanks a heap, Mr. President, for taking such QUICk action to resolve the container cargo bottleneck problem at the ports...which is where all three of those popular systems are waiting for unloading!). Frustrated, I grabbed whatever was available NOW and that turned out to be the Vantech Universal Pickup Topper M1000 Ladder Rack w/ 60" Bar Steel Black assembly.It actually arrived a day early (a miracle?) and today I installed it on my pickup's camper cap (a LEER fiberglass type). This I did very quickly and with absolutely no problems with any of the components whatsoever! The fact that installation was such an easy 'snap' is a testament both to VANTECH and to the fact that any system that can be quickly installed by a hopeless clutz like me (with no inherent handyman skills to speak of) HAS to be great!Thank you, VANTECH, for providing a system that may not be THE status rack system (like Thule, Yakima and Rhino), nevertheless it is solid, well designed, well fabricated and very economical! In fact it's probably a good illustration of Occam's Razor applied...whatever gets you there satisfactorily and simply is usually the best (and wisest) approach to take!
B**N
Strong rack
This is a very sturdy rack.I installed it myself, having never done this before it took about an hour, including all the measuring.Some of the bolts didn’t seat completely, but I just use a metal drill and bore out the holes tiny bit and everything worked out great
B**S
How to get the bolts through without any fuss
I installed a set of these today on my fiberglass canopy and I will say most of these reviews are spot on. The racks are high quality, durable materials, with nice finishes. I have no doubt they will last a long time, and the canopy is more likely to come off than the racks are.That said, I did have to bend the brackets to get the correct angle, which was easy enough with a vise and rubber mallet. Doesn't take much, just a few taps and it matched the roof angle perfectly. I do agree with others that the bolts are a pain to put through, as it first seems like you have to drill the holes bigger or use a different size bolt. But after fiddling with them for a bit I found that it's really quite easy with the right technique. Just put the bolts in as far as they can go from underneath the bracket, not from the front/back edge (see photos). The head of the bolt will be touching the curve of the bracket and it won't go any further. Then just start threading it by hand. Only a 1/4" or so and then it will fit right through, very easy.So if you're comfortable fiddling around with them a bit, they are nice racks for $150. Just don't expect a custom fit for that price.
C**Y
High quality
Installed on my ARE Z series on my 1999 f250. Straightforward assembly. They seem to be thick and sturdy. The paint also appears to be high quality. I used my own hardware. I used grade 8. The flat metal pieces used to mount on the inside of the cap were not great. The holes aren't drilled far enough apart so I couldn't get the bolts on the inside of the cap thru them.It took alot of measuring and marking out with masking tape to drill the holes straight and even. Take your time and measure twice and you won't have any problems. I used marine grade sealant around the mounting bolts to prevent leaks.I plan on mounting my roof top tent on the racks. The racks high weight limit should be perfect for it. No experience yet but I have confidence in how sturdy these are. I will probably end up making a metal brace/frame on the inside of the cap to support the weight of the tent. The weak point wouldn't be in the racks but in the fiberglass shell.
R**P
Looks to be a very well made product
All of the materials were well packaged and seem to be quality parts. The install itself is easy. The install was time consuming because I measured, measured, MEASURED!! This was installed on an '06 Ram 2500.I also had to bend my brackets a little since they were not perfectly horizontal since the top of my cap has a little bow to it. A rubber mallet did not work as somebody else had mentioned, but I did put it in the vice and use a bar clamp to bend it. I put the bracket in the vice and put one clamp end on the bracket and the other end on the bottom of the vice, and cranked the clamp. I only probably needed fifteen degrees or so.In terms of measurements, placement is personal preference. I put my bars about 48" apart from each other, and positioned my brackets so the bars extend about 8" beyond the brackets.MEASURING TIPS:You need to find a front to rear centerline, and a line across the cap which you can accurately measure off of,The windows on my cap have side slider windows, so I pulled a string from the center "bar" of one slider over to the same position on the other side. I also pulled a string from the center of my high mounted stop light on the cap to the radio antenna (which is mounted in the rear/center of the truck cab). Once you have your strings pulled, measure your spacing off them.As others have mentioned, USE YOUR INTERIOR BACKING BRACKET AS A DRILL TEMPLATE. If you mark your holes centered on those (slightly ovaled) holes, the exterior brackets will align perfectly.I'm very happy so far. This is easy enough that if your holes were pre-drilled for you (no measuring required), it would probably be a 30 minute install.
J**W
A good, solid rack for a topper
I got this so I could haul my canoe and put a rocket box on my topper, and it works great. Install took me about 1 1/2 hours, most of which was devoted to making sure I had the holes marked correctly. Once installed, it was/is super-solid. Simple, solid, well designed and a good deal.
Trustpilot
2 weeks ago
2 weeks ago