
Desert Online General Trading LLC
Warehouse # 7, 4th Street, Umm Ramool, Dubai, 30183, Dubai
Desert Online General Trading LLC
Warehouse # 7, 4th Street, Umm Ramool, Dubai, 30183, Dubai


🚀 Elevate your Silverado game with precision and style!
The MotoFabLifts CH-3F-2R leveling kit is a vehicle-specific suspension upgrade for 2007-2018 Chevy Silverado and GMC Sierra 1500 pickups. It raises the front by 3 inches and the rear by 2 inches using CNC-machined billet aluminum spacers, finished with durable black powder coating. Designed for a fast 2-hour installation without strut or coil disassembly, this USA-made kit comes with a lifetime warranty, combining rugged performance with hassle-free upgrade.


| Brand | MOTOFAB LIFTS |
| Auto Part Position | Rear |
| Material | Aluminum |
| Included Components | Billet Aluminum front spacers |
| Maximum Lifting Height | 3 Inches |
| Manufacturer | MotoFab Lifts |
| Automotive Fit Type | Vehicle Specific Fit |
| Item Weight | 21.3 pounds |
| Product Dimensions | 8 x 8 x 6 inches |
| Item model number | CH-3F-2R |
| Is Discontinued By Manufacturer | No |
| Exterior | Painted |
| Manufacturer Part Number | CH-3F-2R |
C**S
Easy on paper but may be sore the next day
The products felt like great quality and do exactly what you want. Truck sites level and taller now. I have it on the stock 265s my 2011 Silverado came with.For the install... I did it on the floor with some jack stands and a floor jack. It took some time but I can be done. The hardest part was getting the strut back in with the bottom bushing lined up correctly. People say you can put it in a vice and rotate it but that didn't work. Start by taking off one of the clips on the bottom of the strut. We got it so that the strut was sitting on the lower control arm, with the top of the strut as far to the outside of the truck as possible so that the bolts had as straight of a line as possible (2 studs were instill inside the strut mount area). Put a bolt into the side without the clip and thread it in a bit. Put the clip back on (you can probably only snap in 1 side). Now use and impact or whatever your tool of choice is and tighten it till the clip pulls down and snaps in place. Put the other side in and tighten both them slowly and it'll slowly straighten out the bushing. Push the top of the strut back into place and tighten it all up.I snapped a sway bar end link doing it so id just take the chance and replace them while you are there. This is our second GM truck that had crap end links.Getting the upper ball joint back into the knuckle was a pain. Use lots of leverage to push the upper control arm down till you can get the nut started on the ball joint. Go back and try to tighten as much as possible then start hitting the top of the ball join with a hammer. Hit it more. Eventually it'll set in and you can tighten the nut without the ball joint spinning.The rears were easy just put jack stands on you chassis, then take of the wheels. Put a floor jack under the diff to support it and proceed with the removal of the struct bolts. I put jack stands under the axel to be safes. So in total use 4 jack stands and a floor jack to move the axel up and down as needed to get the u bolts on and off and no blocks in.
B**P
Great Kit !!!!
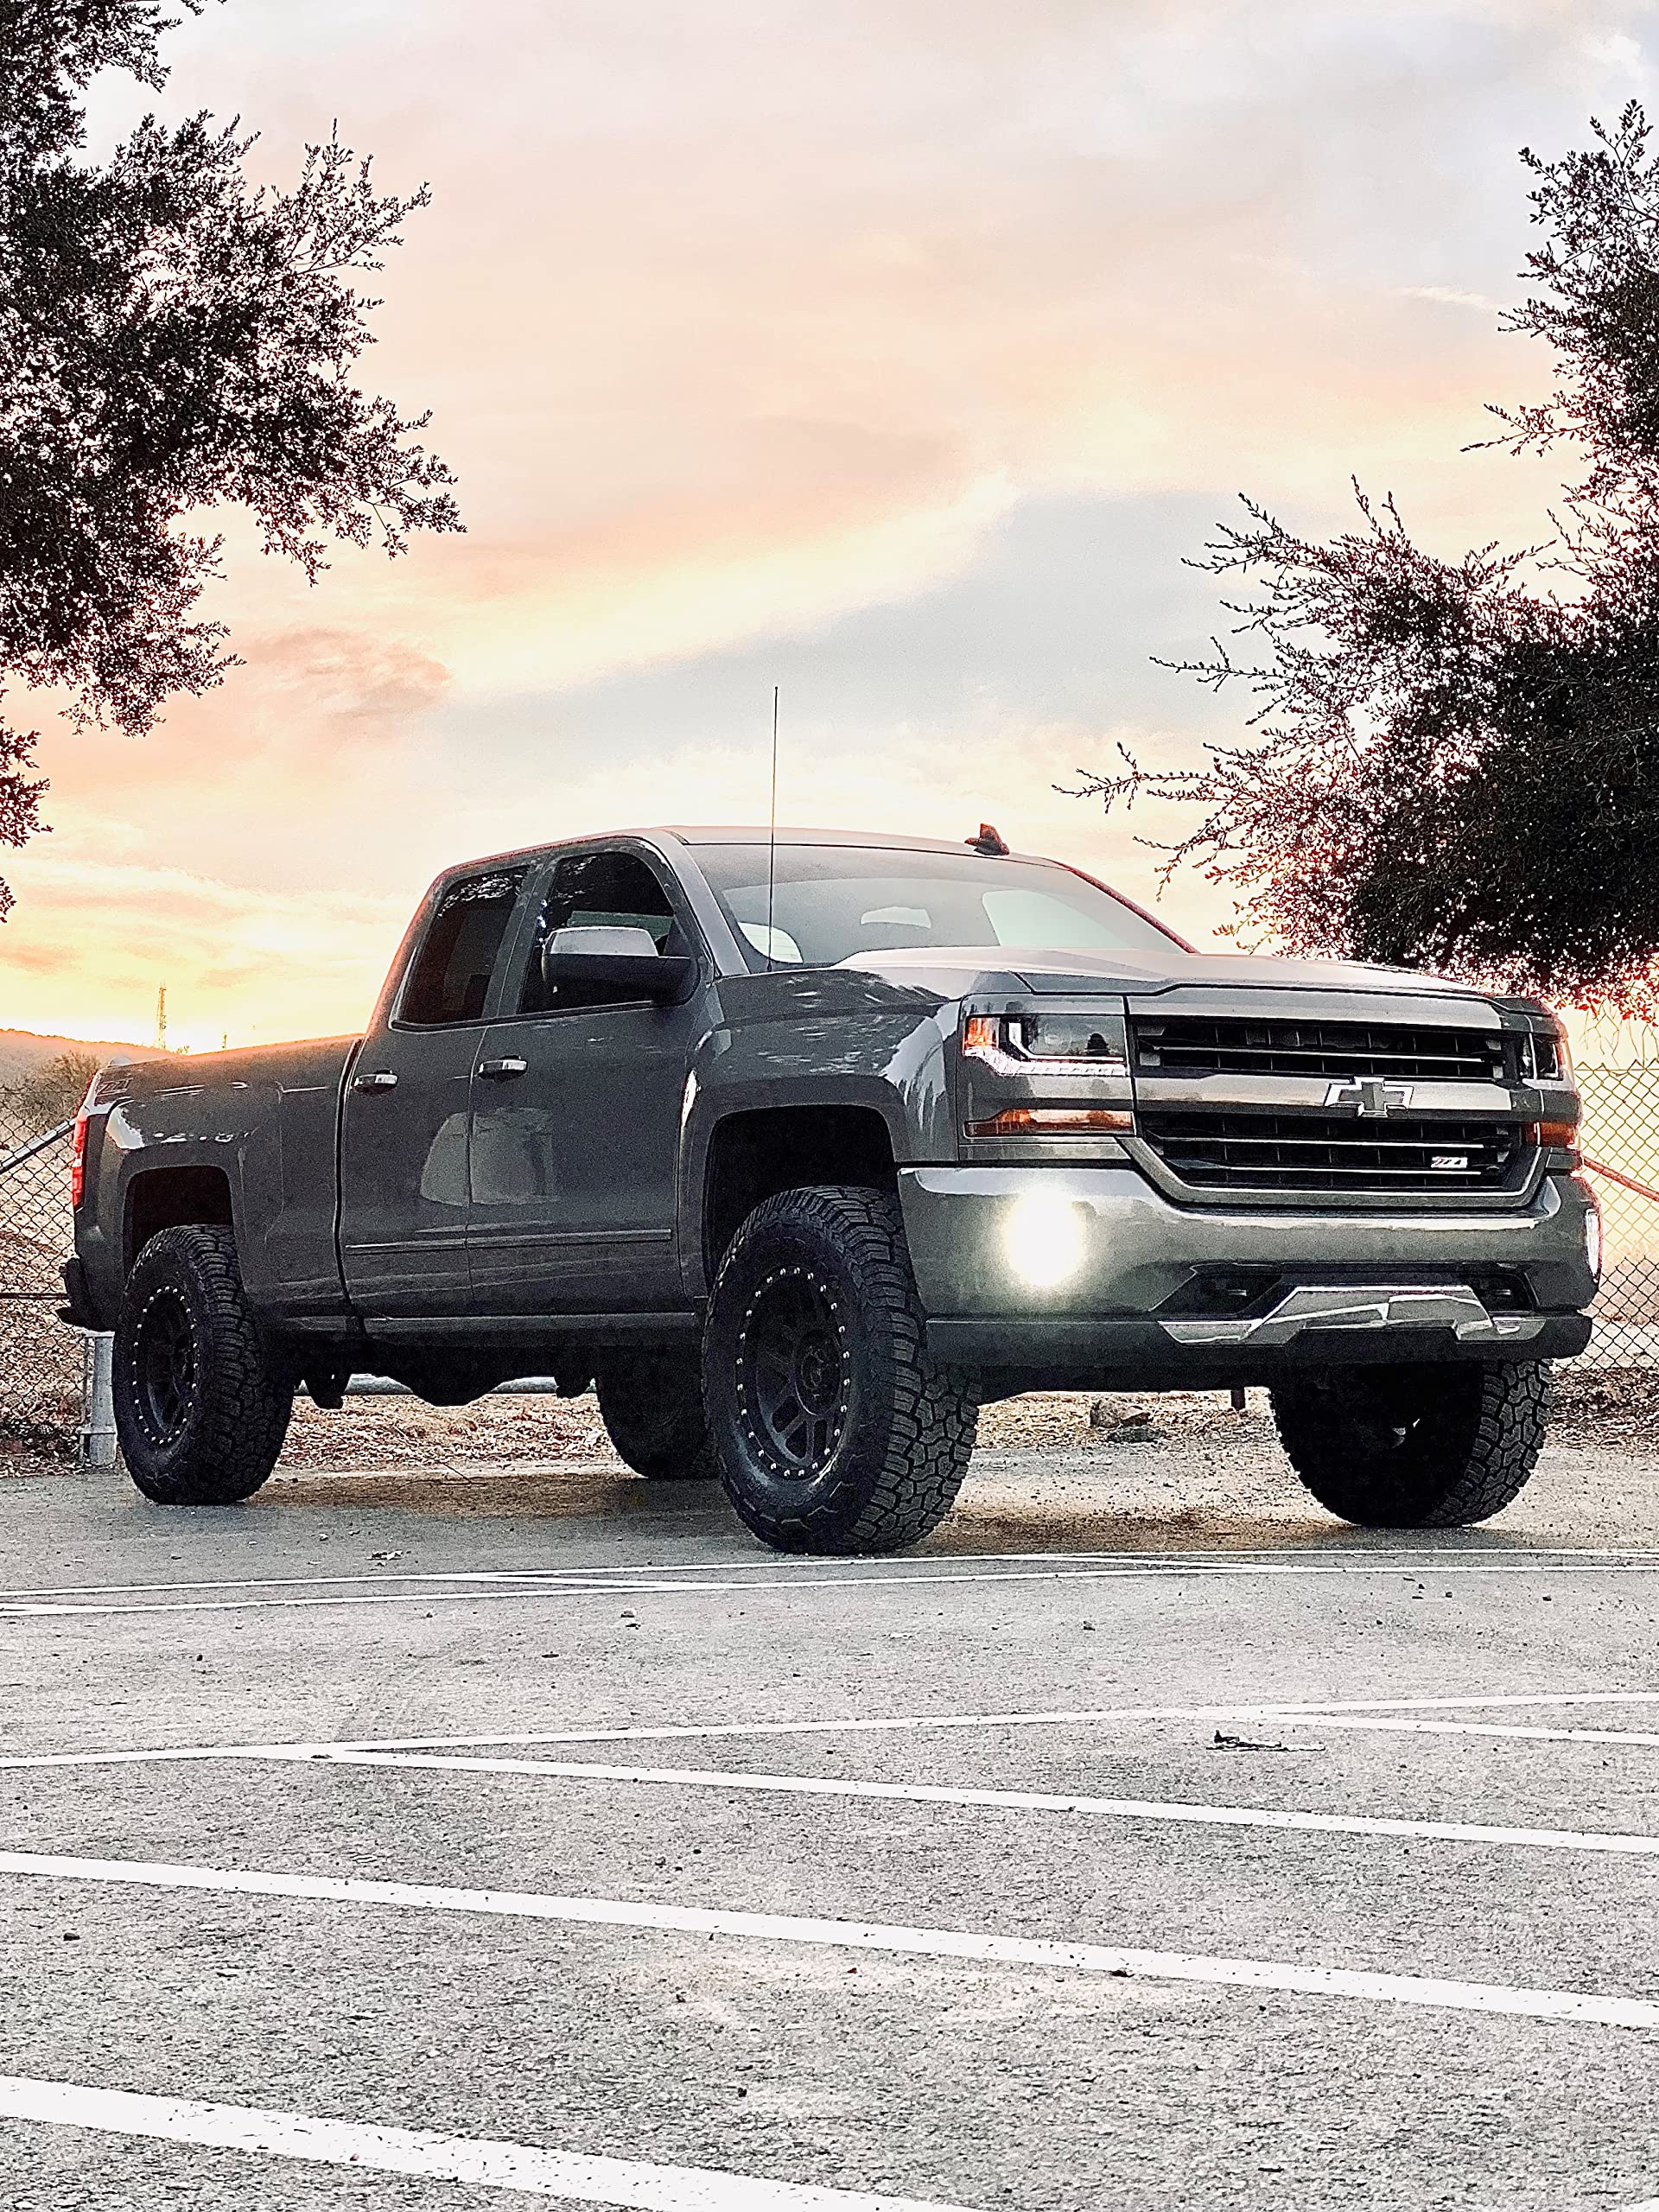
I wanted to give my 09 K1500 Silverado a lift without going too radical by installing a large lift kit. Even though big lift kits look awesome when done the right, is a fairly extensive job that requires bigger modifications to the frame and suspension and lets not forget to mention higher cost for most larger lift kits.I was in the market for a nice lift that was more than a basic "level kit" with small spacers between the lower control arms and front shocks and high enough to make room for the tires I purchased. I had Falken Wildpeak A/T3W LT275/70R18 tires (33.5 x 11.00R18) that I wanted on the truck and ordered Ultra Predator II 18 x 9 inch wheels through my Amazon account at the same time as this kit. I didn't want any clearance problems or modifications to my front air dam or GM molded mud flaps. This kit did the trick and exceeded my expectations!!!Let me start out by saying that I'm an ex automotive technician so I knew what I was getting into before I started this project. Even though I have previous experience, this was my the first time of taking on the challenge of installing a small lift kit so I did some research though several forums and youtube videos, especially since I have seen other comments that the provided instructions are not the best.The kit is fairly self explanatory however, if you purchase the MotoFab kit which raises the front 3 inches and the rear 2 inches, you'll have to remove the front sway bar links and disconnect the upper ball joints from the steering knuckles. This kit is too tall to try and do the cheat-method by only loosing the links and upper ball joint studs. Once everything is disconnected and the front spring/shock assemblies are removed, you will have to cut off the upper control arm bump-stops in order to re-connect the upper ball joint into the steering knuckle after the front shock spacers are installed. This isn't probably necessary with smaller kits that are also available though Amazon and MotoFab. The slight modification is not a huge deal to do and I found that using a cut-off wheel on a die-grinder to cut them off does the trick fairly quickly and easily. After cutting off the bump-stops, I then smoothed the cut-out areas with grinder to eliminate any sharp edges and used a little undercoating spray to protect the exposed areas from corroding. With the bump-stops removed and the front shocks with the new spaces in place, it allows the upper control arms enough downward movement to get the ball joint stud though the steering knuckle and the stud nut started. From this point all you need to do is finish the reassembly of the front end.When it came to installing the rear blocks, the new lift blocks were an easy swap out from the factory ones, just make sure you only do one side at a time or you may run into re-assembly alignment issues.The total project took me about 4hrs to do but depending on your mechanical skills and available tools/equipment to do the job, it may take you more or less time. It does help to have a second set of hands, especially when your re-connecting the front upper control arms to the steering knuckles.You will need to have the vehicle re-aligned after the kit is installed and if your going to put aftermarket wheels/tires on your truck, install them after its been aligned. A lot of aftermarket wheels don't have a recessed rim lips or make it easy to install alignment machine heads onto the outer rim edges which could make it difficult to align and/or mar-up your new wheels. I knew this ahead of time so I aligned the truck with the original rims/tires then put my new wheels on.After everything was installed and aligned the truck look awesome and the ran down the road with no problems. I think the ride feels even better than before the kit was installed with no rough or bumpy feel going over rugged terrain.Attached are before and after pictures the truck so you can see the difference this kit made along with the new wheels/tires.I cannot say enough about the quality of this kit (With A+++ that it's American Made!!!) and the price is a bargain at $125.00 when comparing to similar kits from other companies!I would highly recommend this kit and company to anyone looking for a new look to their truck!!!!
Trustpilot
5 days ago
2 weeks ago