Description
✨ Elevate your ceiling game with effortless style and lasting durability!
- BUILT TO LAST - Backed by a 25-year limited warranty, ensuring your investment stands the test of time.
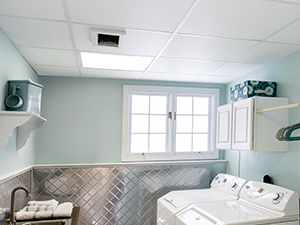
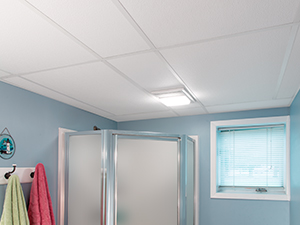
- MAXIMIZE YOUR SPACE - Surface mount design saves up to 6 inches of headroom—perfect for low ceilings and basements.
- DURABILITY MEETS STYLE - Crafted from high-grade PVC vinyl with a rust-free, scratch-resistant white finish that stays pristine.
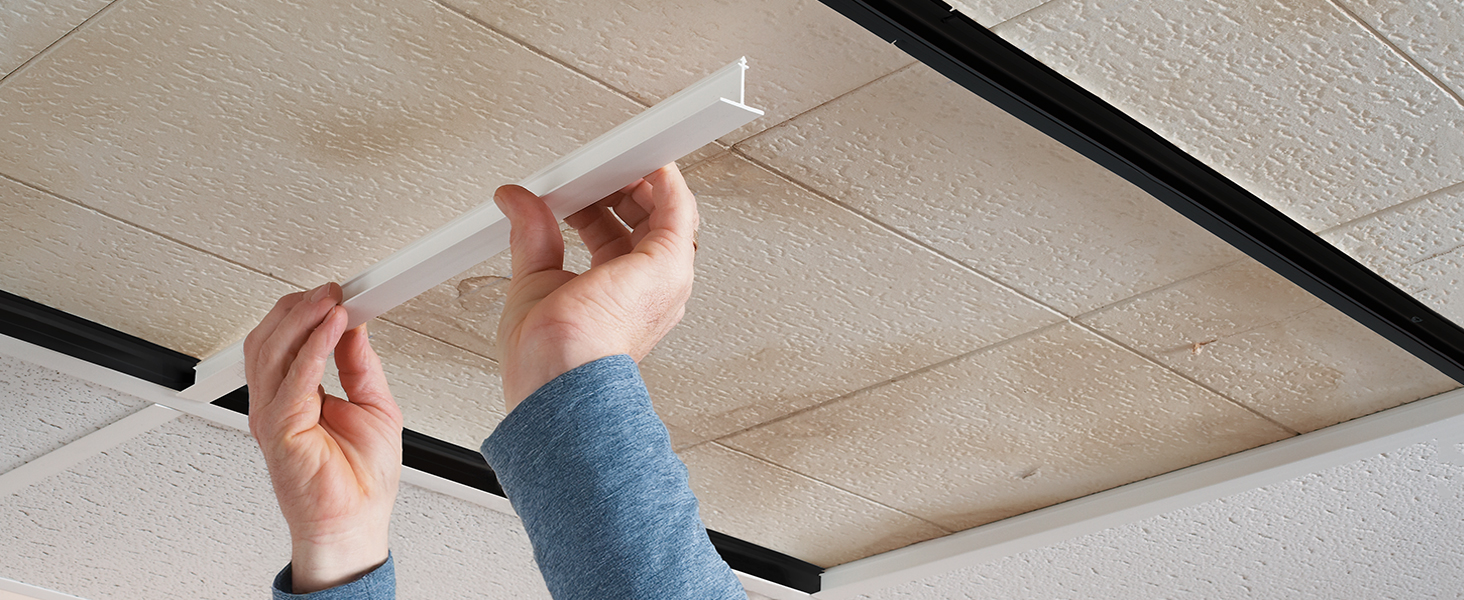
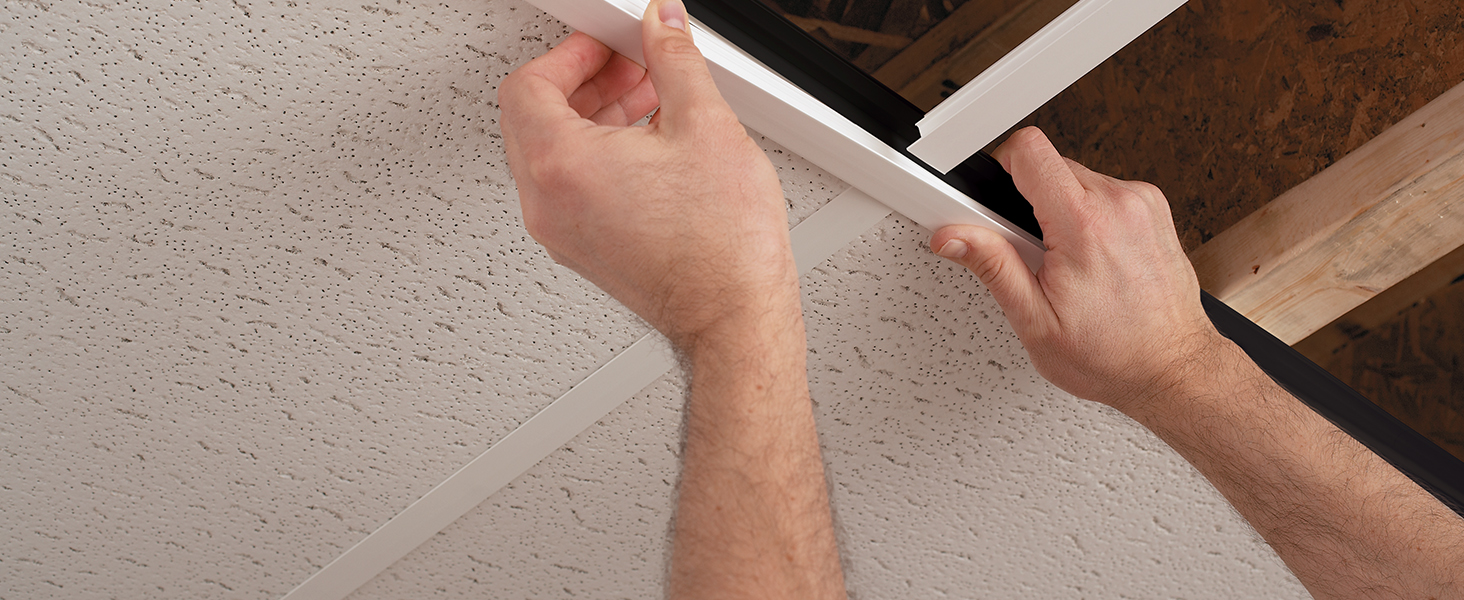
- EFFORTLESS INSTALLATION - Snap-in components eliminate wires and leveling hassles—get your ceiling grid up in no time.
- UNIVERSAL TILE COMPATIBILITY - Seamlessly fits any standard 2x2 or 2x4 ceiling tiles for ultimate design flexibility.
The CeilingMAX 100 sq ft White Surface Mount Ceiling Grid Kit offers comprehensive coverage for medium-sized spaces with 210 lineal feet of grid components. Compatible with standard 2x2 and 2x4 ceiling tiles, it features a durable, rust-free PVC vinyl construction and a snap-in design for quick installation without wires or leveling. Its surface-mounted system saves up to 6 inches of headroom, ideal for low ceilings, and comes with a 25-year limited warranty for long-term reliability.